
Embedding Forms
You can put a Floov form on your own website in two ways: inline (the form appears directly on the page in an iframe) or as a modal (a button that opens the form in a popup). Both are available from the Share dialog once the form is published.
Opening the embed options
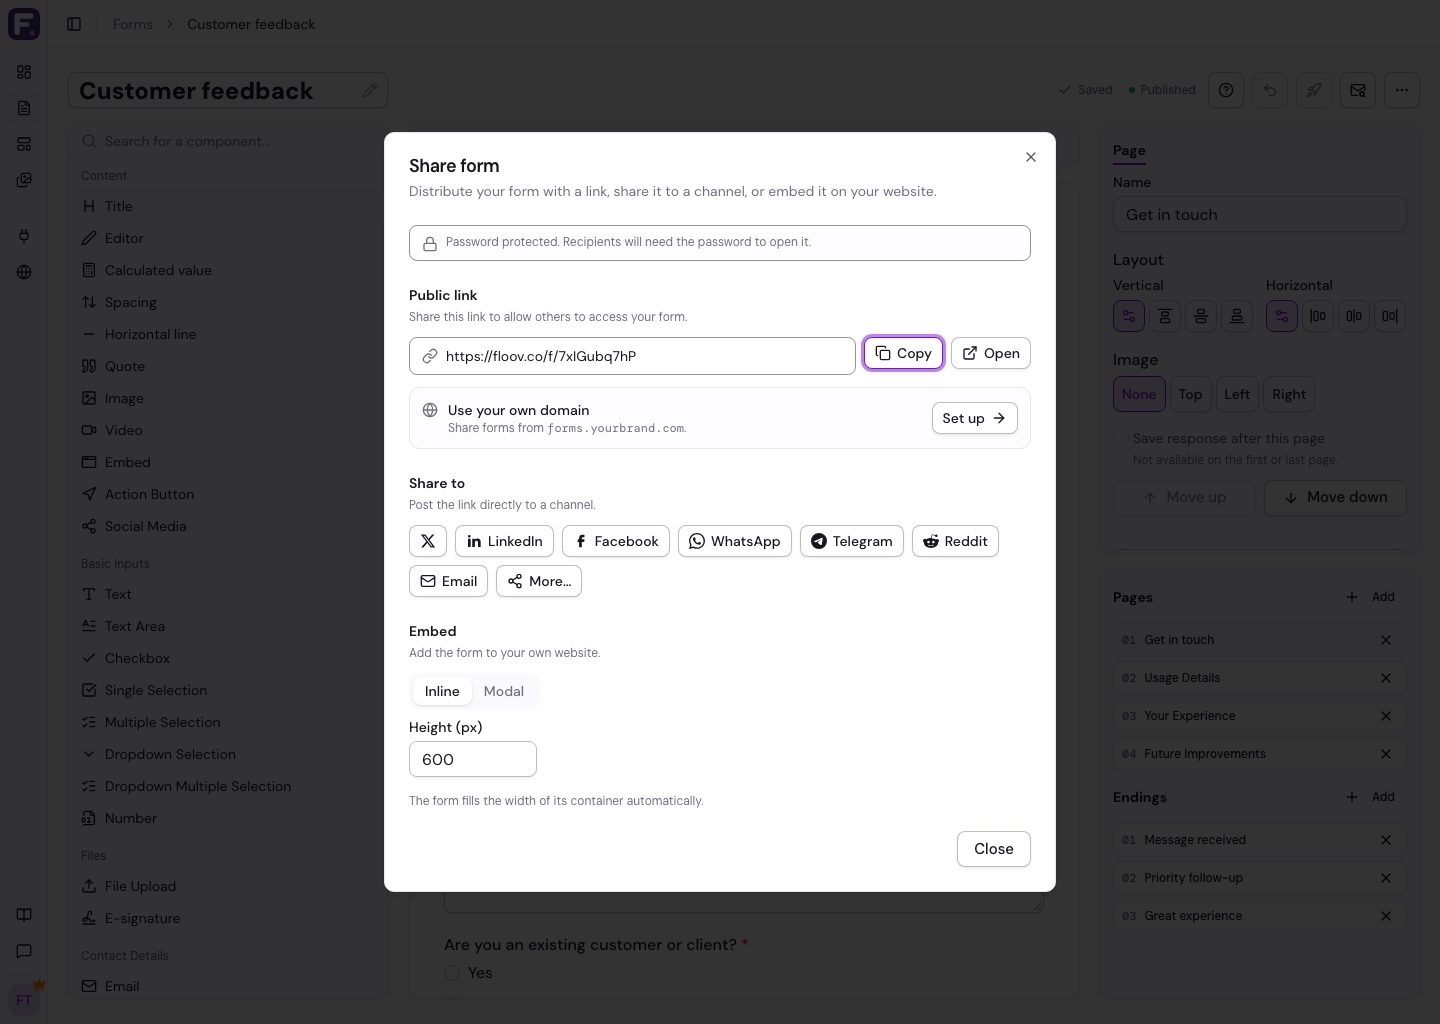
In the form editor, open the Share dialog and go to the Embed section. You'll see two tabs, Inline and Modal, each with a copy-to-clipboard snippet.
Inline embed (iframe)
The inline embed drops the form straight into your page. Set the height you want and copy the snippet:
<iframe
  src="https://yoursite.com/f/your-form"
  title="Your form"
  width="100%"
  height="600"
  loading="lazy"
  style="border:0;"></iframe>
The width is 100% so the form fills its container. Use the Height field in the dialog to match your form's length:
- Short forms (1-3 fields): around 400-500px
- Medium forms (4-8 fields): around 600-800px
- Long or multi-page forms: 800-1000px or more
For multi-page forms, set the height to fit the tallest page; anything beyond it scrolls inside the iframe.
Modal embed (popup)
The modal embed adds a trigger that opens the form in a centered popup over your page. It comes in two parts. Load the script once, then mark any element as a trigger:
<!-- 1. Add this once, anywhere on your page -->
<script src="https://floov.co/embed.js" async></script>

<!-- 2. Add a trigger wherever you want -- any element works -->
<button data-floov-form="your-form" data-floov-url="https://forms.yourcompany.com/your-form">Open form</button>
You only need the <script> tag once per page. After that, any element with a data-floov-form attribute becomes a trigger, whether it is a button, a link, an image, or anything else. The generated data-floov-url keeps a selected custom domain on modal embeds; omit it only when manually using the default Floov URL. You control the trigger's look; Floov only styles the modal.
Modal options
Add these attributes to the trigger element to tweak the popup:
data-floov-url="https://forms.yourcompany.com/your-form": exact branded form URL generated by the Share dialogdata-floov-width="680": max width of the modal in pixelsdata-floov-height="700": height of the modal in pixelsdata-floov-fullscreen: open the form filling the whole screen
The dialog generates the snippet with your chosen domain, size, or fullscreen setting already filled in.
Where to embed
Both methods work on any site or platform that accepts custom HTML:
- WordPress - add a Custom HTML block and paste the code
- Webflow - use an Embed element
- Squarespace - use a Code block
- Wix - use the HTML Embed widget
- Static HTML - drop it straight into your markup
- React / Next.js - a plain iframe or script tag works fine
Things to know
- Embedded forms are fully functional: validation, navigation, file uploads, and submission all behave like the standalone URL.
- Access settings (password, deactivation, limits) apply to embeds too.
- If you've connected a custom domain, choose it in the Share dialog and both snippets use that branded form URL.
- The form has to be published before an embed will load.