
Build a Contact Form
Follow this worked example to build a contact form from a blank form, set up email notifications, and publish it. For a shorter overview of the publishing flow, see Quick Start.
Open a new form
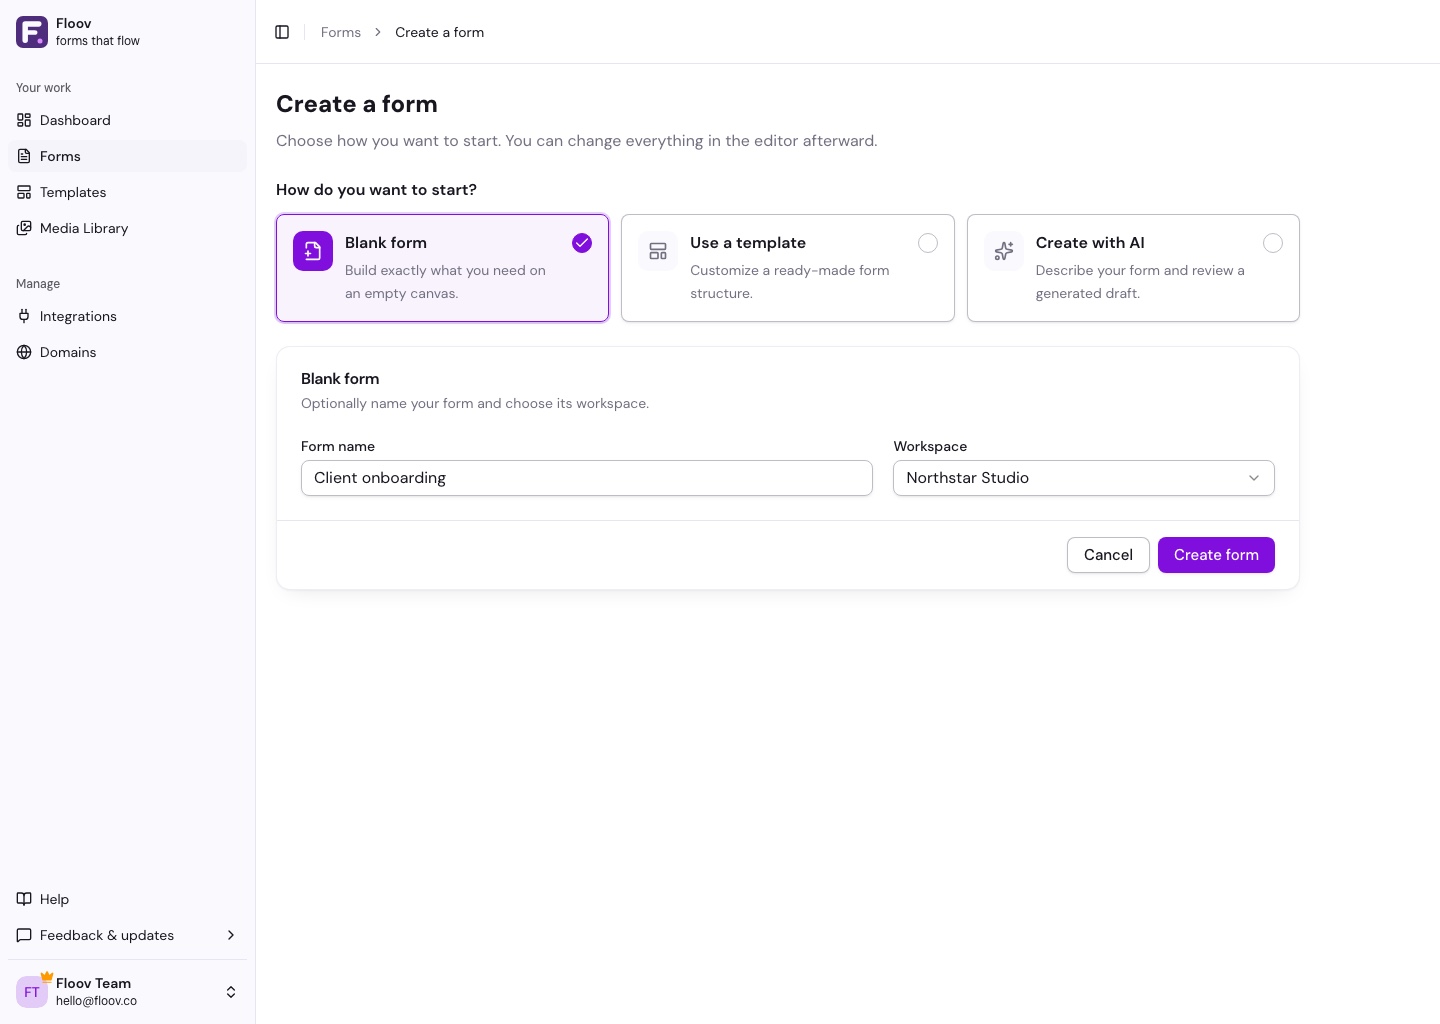
From your dashboard, click Create form. Choose Blank form, optionally enter a name, select the workspace, and click Create form again to open the editor. The same page also lets you choose a template or Create with AI to generate and review a starting draft.
Build the layout
Add a heading
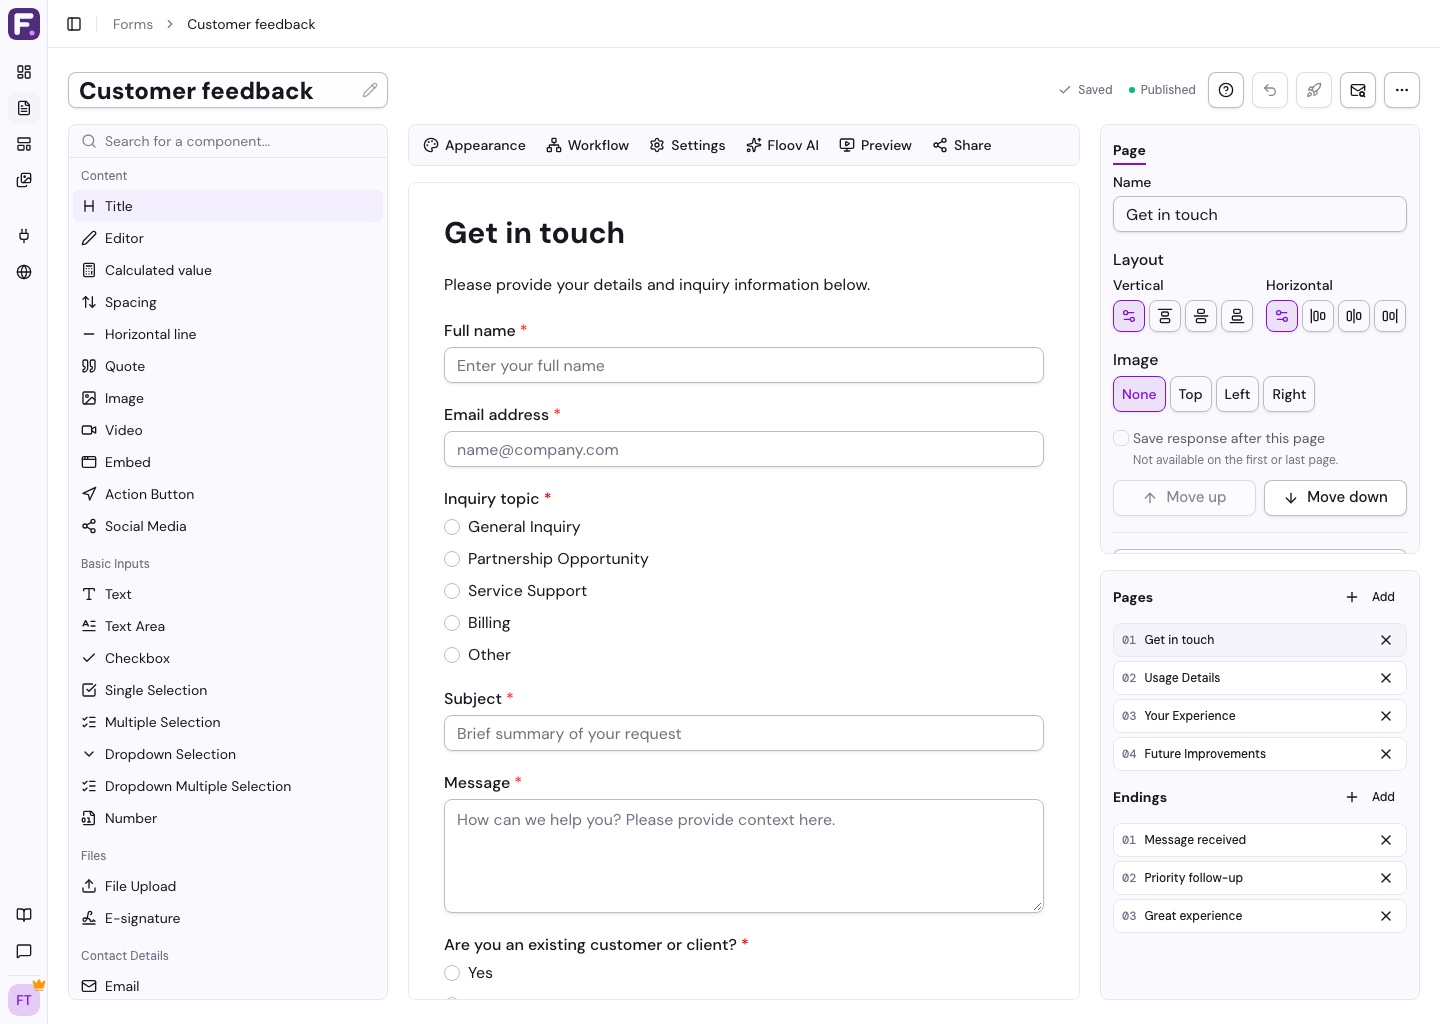
Drag a Title field from the Content group in the toolbox onto the canvas. Click it, change the text to "Contact Us", and set the heading level to H2. Center-align it if that fits your style.
Add the inputs
Drag these from the toolbox, in order:
- Text, labelled "Full Name". Mark it required.
- Email. This validates the format automatically. Also required.
- Phone, which includes a country code selector.
- Dropdown Selection, labelled "Subject", with options like "General Inquiry", "Support", and "Feedback" (use Add option, then reorder choices with the arrow controls).
- Text Area, labelled "Message". Required.
Tune each field
Selecting a field on the canvas opens its settings on the right. The options you'll use most often are Label (what respondents see), Placeholder (the gray hint text), Instructions (helper text underneath), Required, and Hide label, which hides the label visually but keeps it for accessibility and exports.
Some fields have extras. Text and text area fields support min and max character limits, and number fields accept min and max values.
Set up notifications
Click Settings in the toolbar and open the Email Notifications tab. Turn on Send notification email and enter the address that should receive submissions.
You can edit the subject and body. Typing @ in the body editor lets you insert field values, so you can pull the respondent's name or email straight into the message.
Style it
Open Appearance from the toolbar to pick one of the 13 theme presets. Toggle dark mode if you want it, and set the form width to control how wide it renders.
Preview
Click Preview and fill the form in yourself. Leave a required field blank to check the error state. Type something that isn't an email into the email field. If the validation feels right, you're good.
Publish
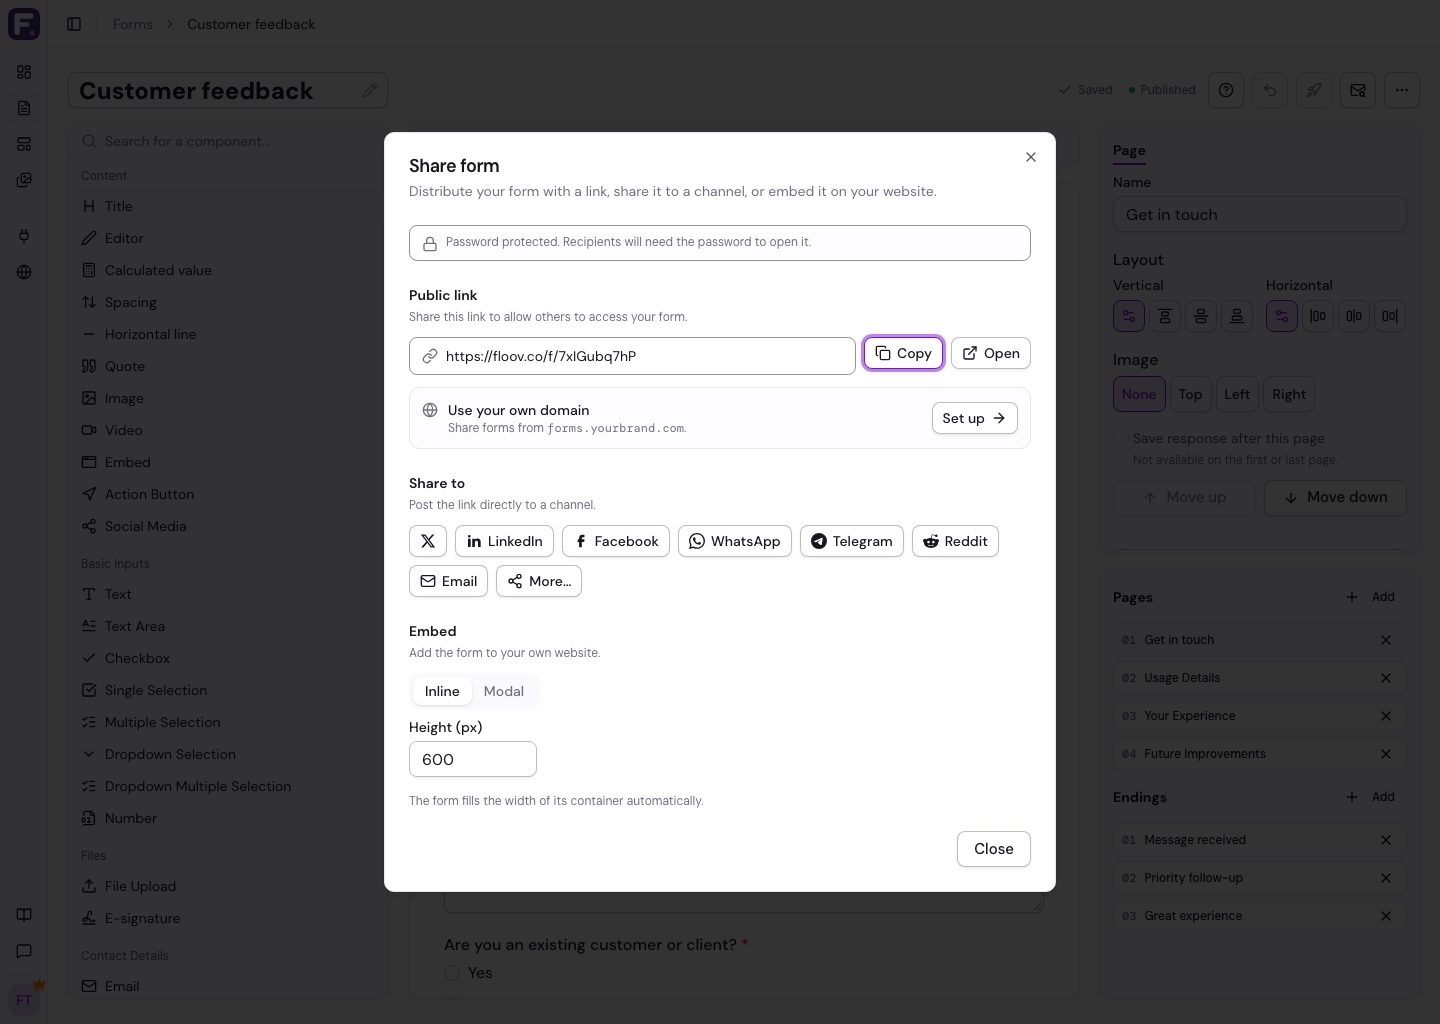
Click Publish. The form goes live at a URL like /f/your-form. Copy that link and share it wherever your respondents are.
You can keep editing the form after publishing. The live version only updates the next time you hit publish.
Where to go next
For the full tour of the builder, see the editor overview. To change how the form looks, read themes and appearance. And once responses start rolling in, the viewing responses guide covers filtering and export.