
Multi-Page Forms
Split your form into pages to group related questions. Respondents move through them with navigation buttons and see an ending after submitting.
Add and Arrange Pages
- Open the pages panel and choose Add page.
- Choose a content page for questions or an ending for a thank-you message.
- Name the page and add its fields. Select any page to edit, reorder, or delete it.
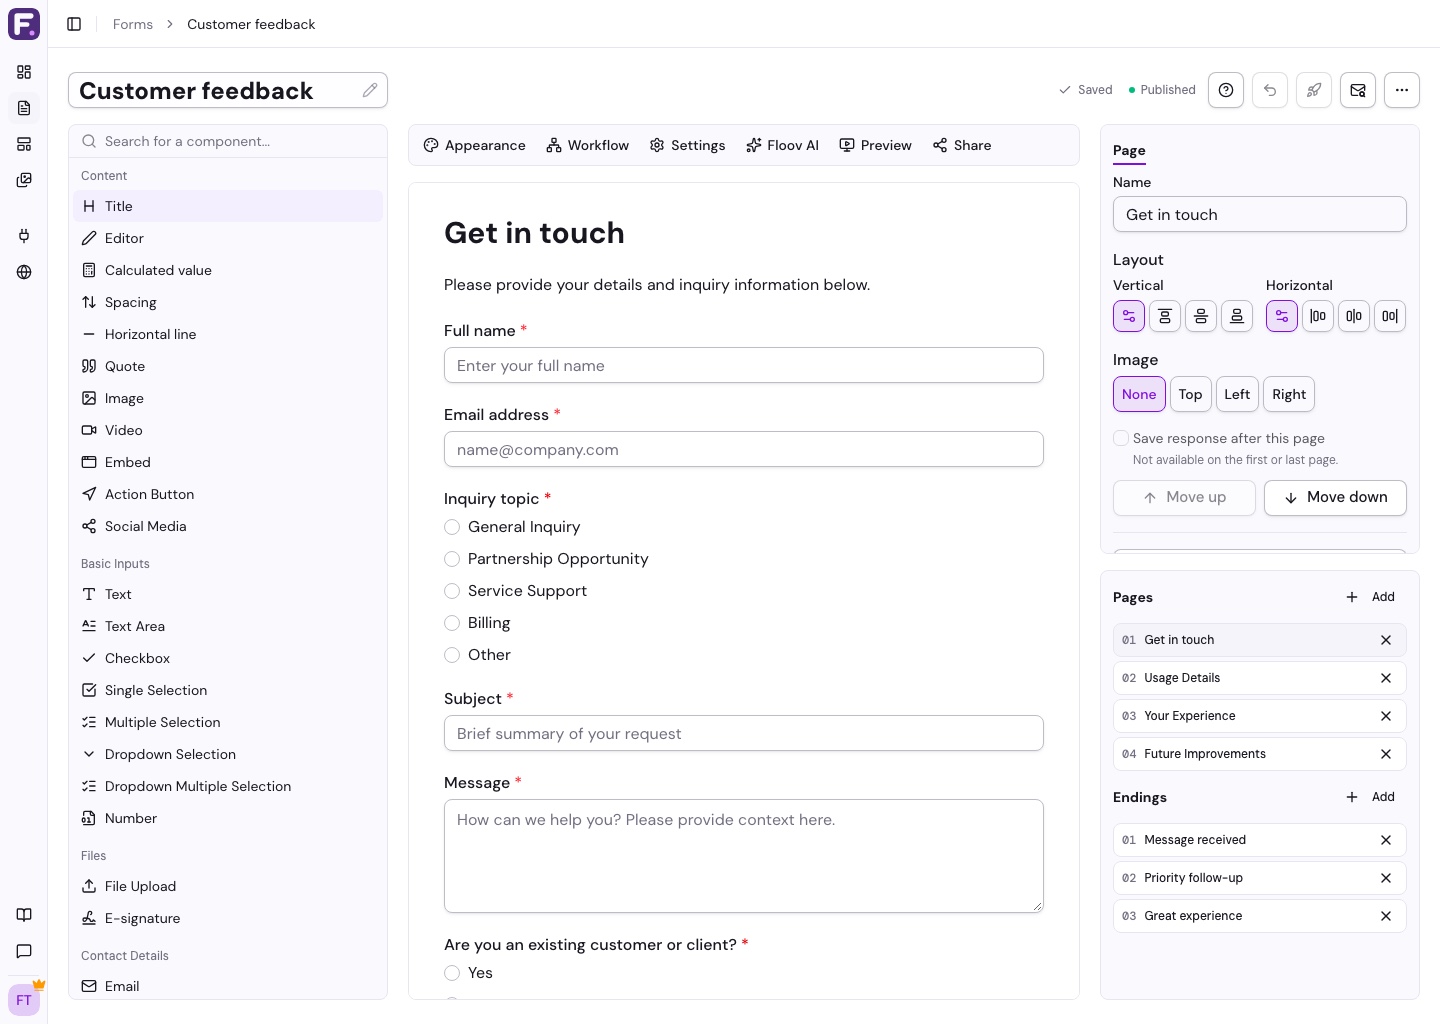
Keep at least one content page. Names such as “Contact details” and “Preferences” make pages easier to find.
Move Fields Between Pages
Select a field on the canvas, choose Move to page in its toolbar, then choose a destination. Floov places it at the end of that page and opens the page with the field selected. Use the up/down controls or drag it to adjust its position.
The field keeps its identity, settings, and references in conditional logic, emails, and integrations. Moving a Columns block also moves every field inside it; moving one field out of a column leaves the rest of the layout in place.
The action appears when there is another content page. Ending blocks use Move to ending and stay among endings. After moving a question, preview your workflow to check when its answer becomes available.
Navigation
Floov adds Start, Next, and Back buttons automatically. Required questions must be answered before moving forward.
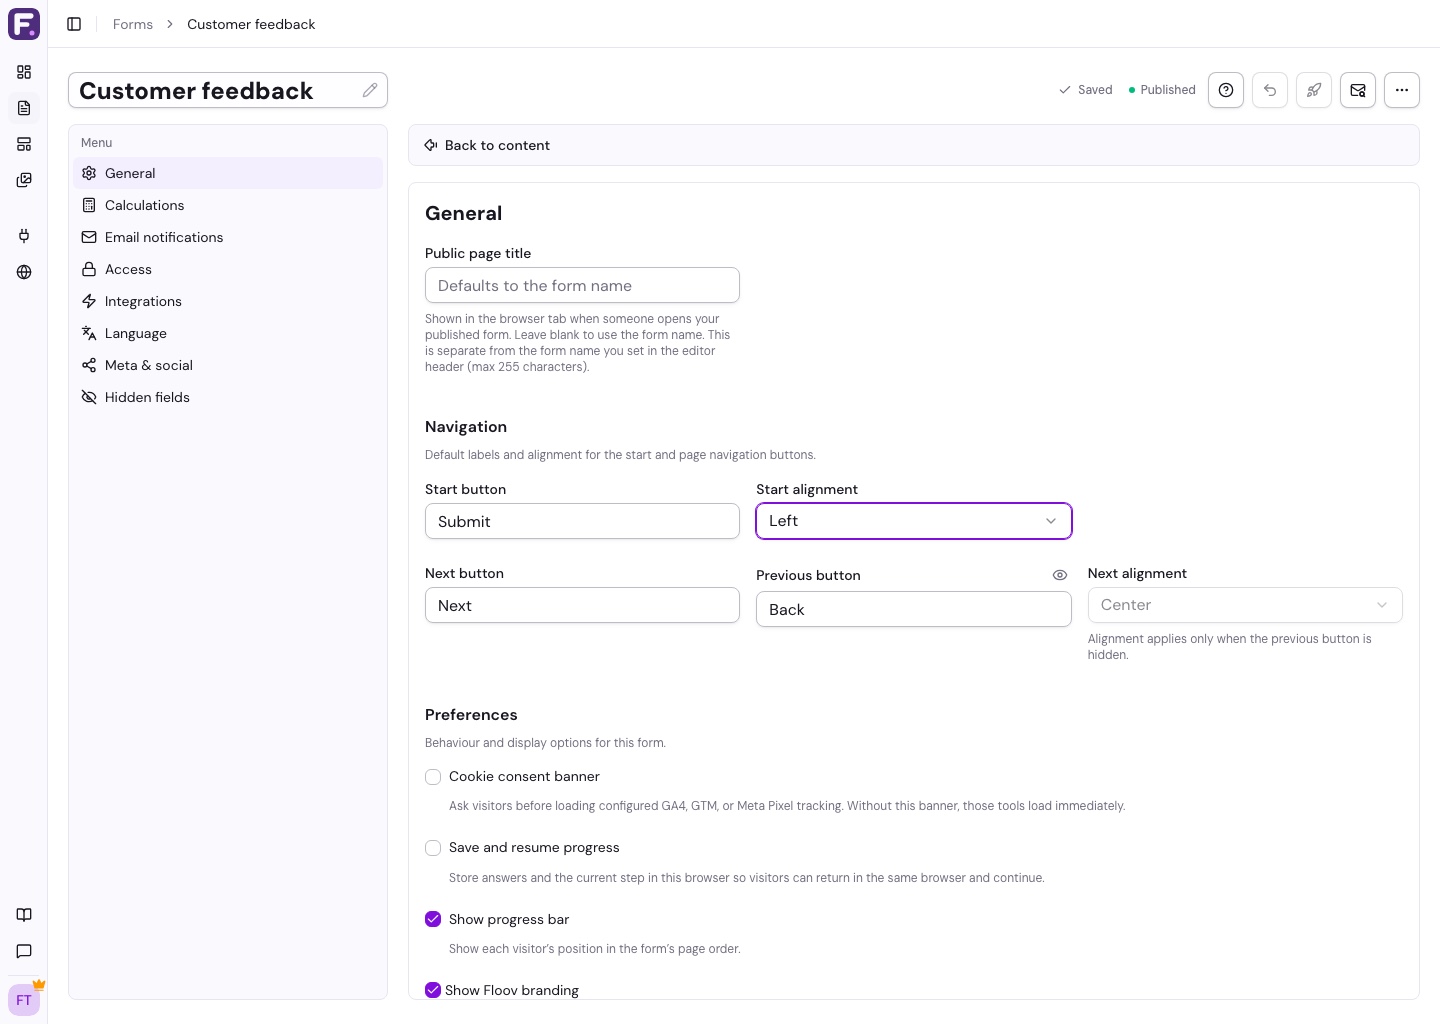
Open Settings > General to change button labels and alignment, hide Back, or show a progress bar. Pro also offers save and resume in the same browser.
Customize the Flow
Use Page settings to change an individual page's alignment or image. The appearance guide covers these options.
With Pro, conditional logic can skip questions or send respondents to different pages and endings based on their answers.
Learn about ending pages, navigation preferences, or organizing pages with AI.